Someone on Stitcher's Guild asked how others used a sloper. I am working on bodice for the Pattern Review My Pattern contest and just drafted the bodice yesterday. Here are the details.
My bodice sloper is an armhole princess. I placed the side and center fronts together, matching at the bust point. I moved the side front so some of the dart equivalent in the princess seam formed an armhole dart with the remaining dart amount under the bustline.
If I were starting from a darted block, I would have rotated 1/2 the dart amount to the armhole and half to where a waistline dart would go.
I placed my tracing fabric over the positioned pattern pieces. I traced the armhole leaving the stitching line for the dart unmarked. I also traced the neckline, center front and side seam and marked the apex. These were traced on the seamline, not the cutting line. I then determined where I wanted the waistline and marked that seamline with a curved ruler. The sloper pieces were then removed from underneath the new pattern.
I folded the pattern at the center front and traced the waistline out several inches. The neckline was next, I measured (on me) how high the v-neck needed to be so the neckline wasn't too low. I then drew in a slightly curved line from the neckline just below the shoulder seam to the extended waistline. I measured back from the apex and marked the point of the dart and drew dart lines out beyond the armhole seamline. I folded the dart, and traced the armhole seam in the dart from the armhole seam below the dart.
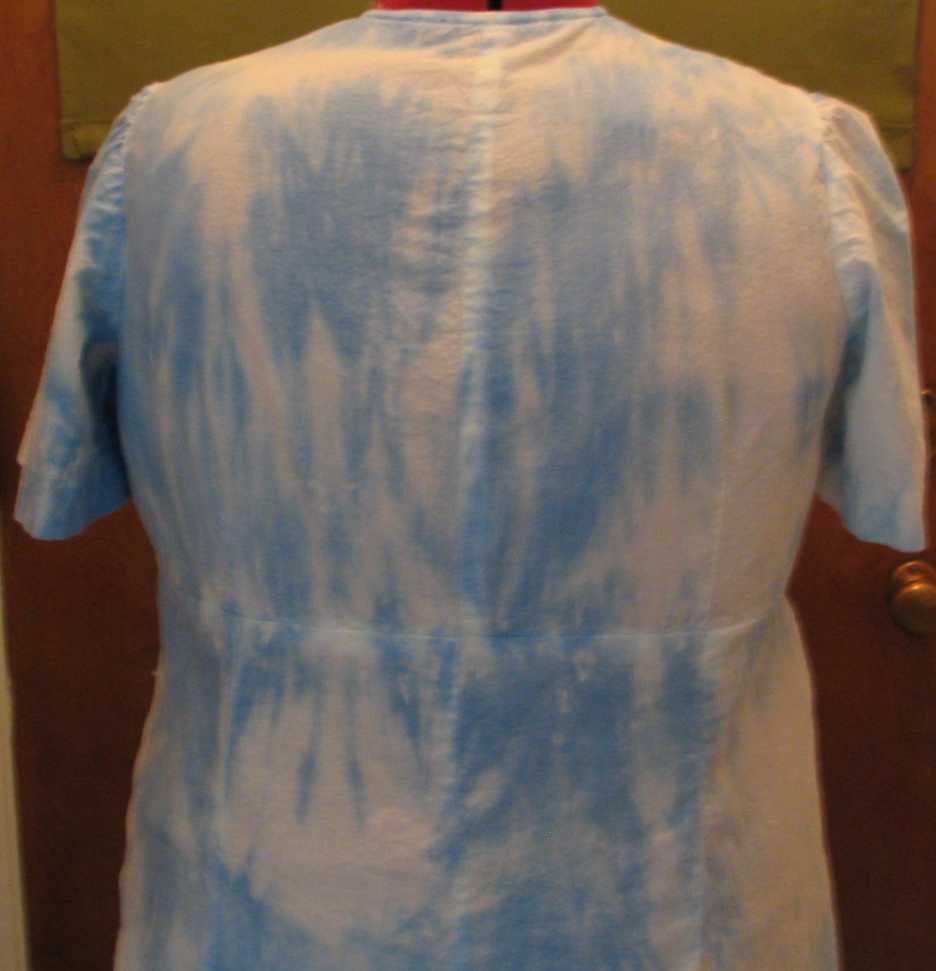
I then put the side and center backs together in a smilier way leaving the dart excess unmarked at the waistline. The dart amount for my back is minimal and often not needed.
I added seam allowances around using my normal amounts (2 cm on shoulder and side seams, 1.5 cm on armhole and 1 cm on neckline).
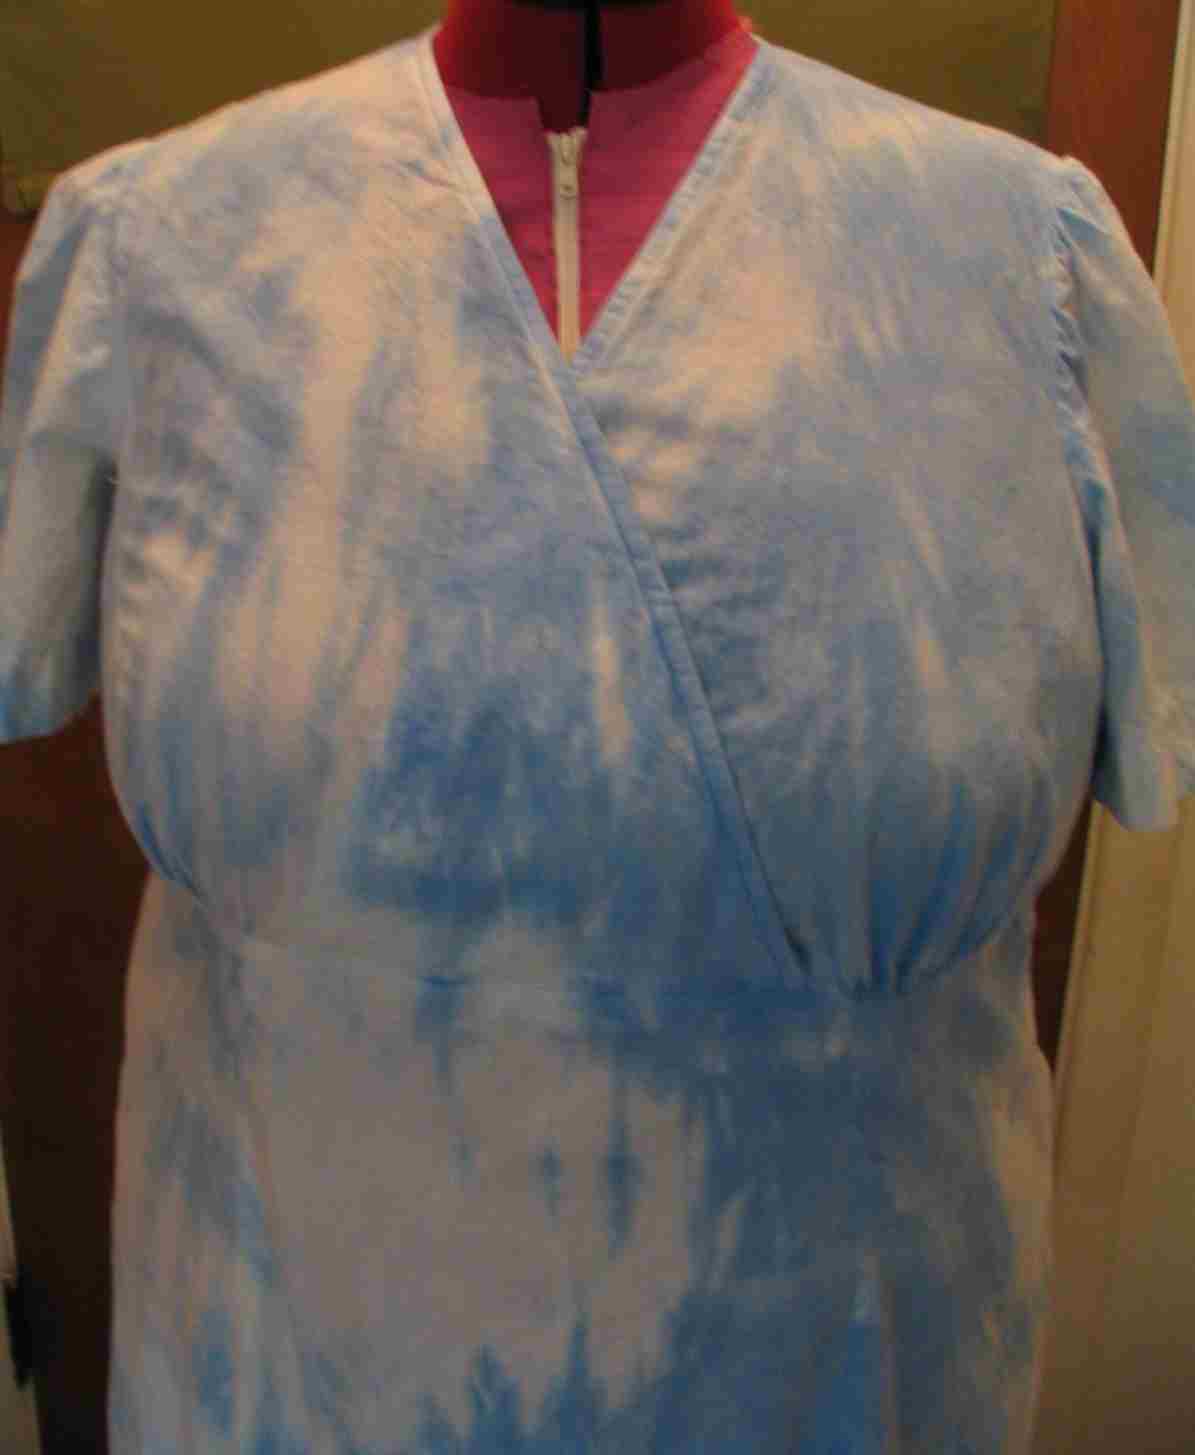
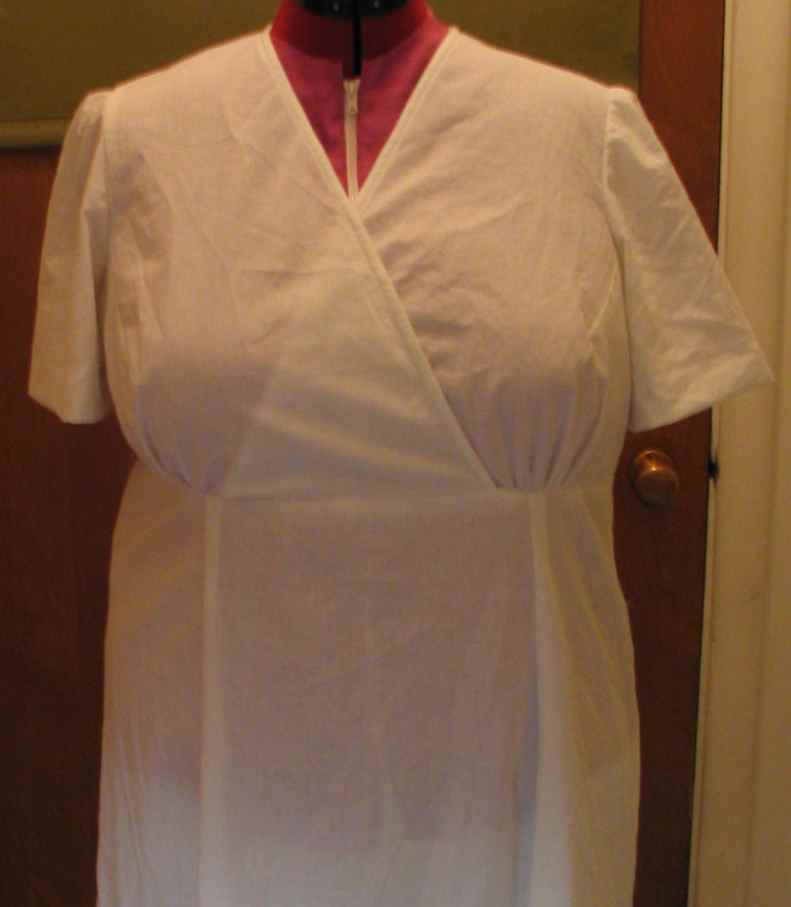
The first muslin showed the waist was un-even and the bust gathers were too close to the center front. I pinned waistline changes so the waist was even and marked where the gathers should be moved to. I made a second muslin and basted the underbust gathers. The waistline now even but was too low. I also needed waist darts in the back. I measured how much to shorten the waistline and pinned darts in the back at the waist so I knew what size darts I needed. I made those adjustments to my pattern and have started to cut out a test bodice. I am using fabric I will wear if the pattern works okay that will be okay if it doesn't work.
The 1st muslin was off the bolt I bought last fall when Joann's had muslin on a good sale. That muslin was a bit stiff for this design so I used some softer muslin I had left from a gored skirt muslin/slip. In addition to muslin I buy $1 and $2 fabric from Walmart and check the red tag section at Joann's when it is 50% off.